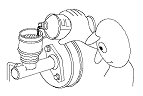
Service Precautions
|
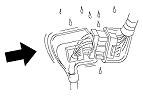
General
|
|

|
|
|
|
|

|
|
|
|
|
|
|
|
Electrical Troubleshooting Information
Before Troubleshooting
|

|
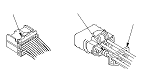
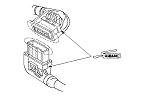
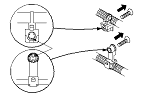
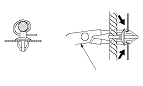
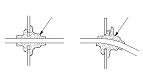
Handling Connectors
|
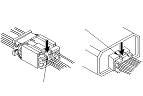
|
|
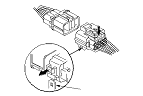
|
|
|
|

|
|
|
|
|
|
|
|
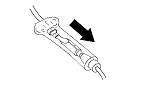
Handling Wires and Harnesses
|
|
|
|
|
|
|
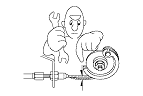
Testing and Repairs
|
|
|
|
|
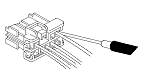
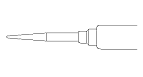
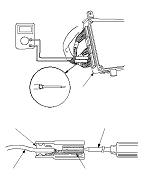
When checking any control module(s) or unit(s) connector terminals, gently slide the sharp tester probe from the wire side into the connector until it comes in contact with the terminal end of the wire.
|
|
|
Five-step Troubleshooting
|
|
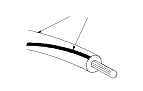
Wire Color Codes
The following abbreviations are used to identify wire colors in the circuit schematics:
The wire insulation has one color or one color with another color stripe. The second color is the stripe.
|
|