-
Clean all parts in brake fluid and air dry; blow out all passages with compressed air.
-
Before reassembling, check that all the parts are free of dirt and other foreign particles.
-
Replace parts with new ones whenever specified to do so.
-
Use only genuine DOT 3 or DOT 4 Honda Brake Fluid. Non-Honda brake fluid can cause corrosion and shorten the life of the system.
-
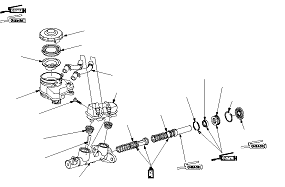
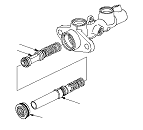
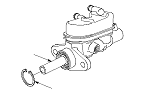
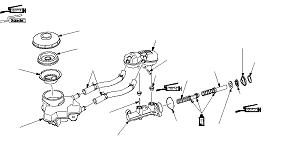
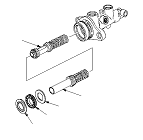
Replace the master cylinder if the bore is damaged or worn. Do not hone or attempt to refinish the bore.
-
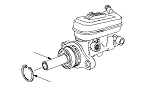
Coat the piston cups, pressure cup and master cylinder bore with clean brake fluid.
-
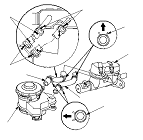
Use recommended greases in the master cylinder seal set.
-
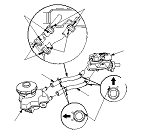
Make sure not to get any silicone grease on the terminal part of the connectors and switches, especially if you have silicone grease on your hands or gloves.
-
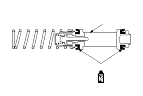
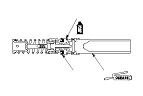
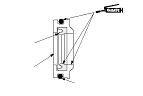
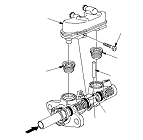
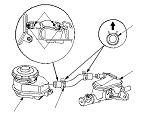
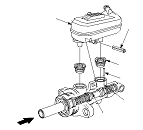
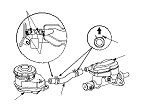
The illustrations show LHD model.