-
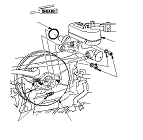
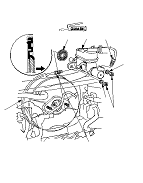
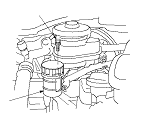
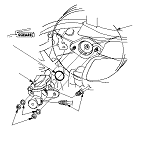
Disconnect the brake lines (A) from the master cylinder (B). To prevent spills, cover the hose joints with rags or shop towels.
-
Remove the master cylinder mounting nuts (C) and the washers (D).
-
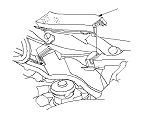
Remove the master cylinder from the brake booster (E). Be careful not to bend or damage the bake lines when removing the master cylinder.
-
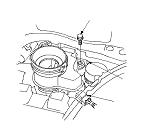
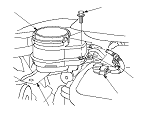
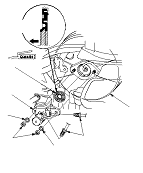
Except KE ABS model: Remove the rod seal (F) from the master cylinder.
NOTE: During installation, set the new rod seal onto the master cylinder with its grooved side (G) toward the master cylinder.
-
KE ABS model: Remove the O-ring (H) from the master cylinder.
NOTE: Use the new O-ring during installation.
-
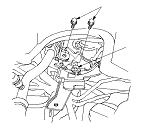
Install the master cylinder in the reverse order of removal, and note these items:
-
Coat the inner bore lip and the outer circumference of the new rod seal with the silicone grease in the master cylinder set.
-
Make sure not to get any silicone grease on the terminal part of the connectors and switches, especially if you have silicone grease on your hands or gloves.
-
-
-
Spin the wheels to check for brake drag.
|
KE ABS model:
Except KE ABS model:
|