( TF09E60E34150100000KAAT00 )
M/T Assembly Removal

Special Tools Required

Engine support hanger
 AAR-T-1256-J00
NOTE: Use fender covers to avoid damaging painted surfaces.
  1. Secure the hood in the wide open position (support rod in the lower hole).
  1. Remove the air cleaner stay.

  1. Disconnect the back-up light switch connector (A), then remove the harness clips (B).

  1. Disconnect the vehicle speed sensor (VSS) connector (A), then remove the harness clamp bracket (B).

  1. Remove the purge control SOL.V. hose (A). Install the hanger plate (B) to the air cleaner housing mounting bracket (C) with the 8 x 1.25 mm bolt (D).

  1. Install the engine support hanger (A) with the hook (B) to the vehicle. Tighten the wing nut (C) by hand, and lift and support the engine.

  1. Remove the one upper transmission mounting bolt.

  1. Remove the ground cable (A), transmission mount nuts (B), and transmission mount bolts (C), from the transmission bracket (D).
  1. Raise the vehicle on a lift, and make sure it is securely supported.

  1. Remove the heat cover.

  1. Remove the clutch pipe stay.

  1. Remove the transmission mount bracket (A).
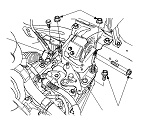
    NOTE: The bracket is used in the production process, not necessary to be reinstalled.

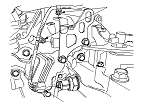
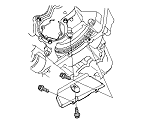
  1. Remove the clutch case cover.
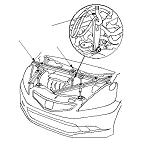
  1. Securely support the transmission with a transmission jack.

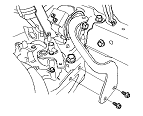
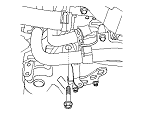
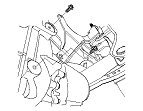
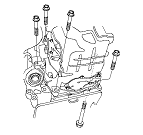
  1. Remove the torque rod.

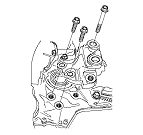
  1. Remove the torque rod bracket.

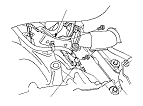
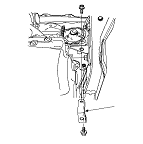
  1. Remove the lower transmission mounting bolts.
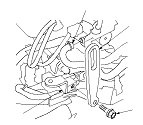
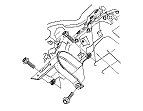
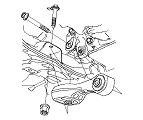
  1. Pull the transmission away from the engine until the transmission mainshaft clears the clutch pressure plate.
  1. Slowly lower the transmission. Check once again that all hoses and electrical wiring are disconnected and free from the transmission then lower it completely. Remove the two dowel pins.