Airbag and Tensioner Disposal
|
Deploying Airbags in the Vehicle
Special Tools Required
Deployment tool
07HAZ-SG00500
Before scrapping any airbags, side airbags, side curtain airbags, or seat belt tensioners (including those in a whole vehicle to be scrapped), the part(s) must be deployed. If the vehicle is still within the warranty period, the Honda District Parts and Service Manager must give approval and/or special instruction before deploying the part(s). Only after the part(s) have been deployed (as the result of vehicle collision, for example), can they be scrapped. If the parts appear intact (not deployed), treat them with extreme caution. Follow this procedure.
If an SRS equipped vehicle is to be entirely scrapped, its airbags, side airbags, side curtain airbags, and seat belt tensioners, should be deployed while still in the vehicle. These parts should not be considered as salvageable parts and should never be installed in another vehicle.
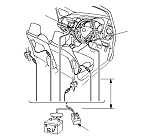
Driver's Airbag
|
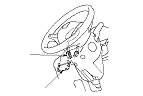
|
|
Front Passenger's Airbag
|
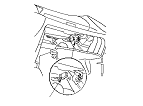
|
|
Side Airbag
|
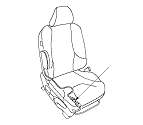
|
|
Side Curtain Airbag
|
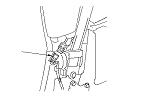
|
|
Seat Belt Tensioner
|
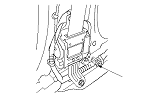
|
|
|
|
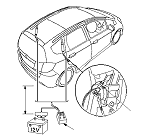
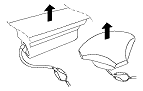
Deploying Components Out of the Vehicle
If an intact airbag or tensioner has been removed from a scrapped vehicle, or has been found defective or damaged during transit, storage, or service, it should be deployed as follows:
|
|
|
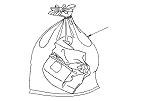
Disposal of Damaged Components
|