Rear Brake Caliper Overhaul
|
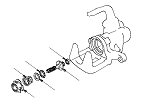
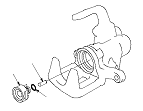
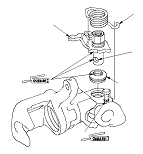
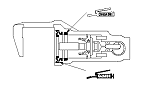
Exploded View
Special Tools Required
Locknut wrench, 5.5 x 30 mm
07916-6390001
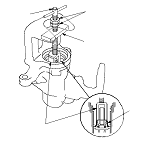
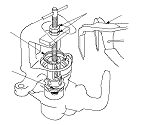
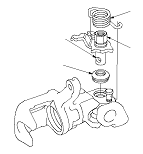
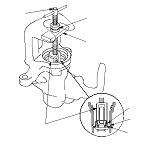
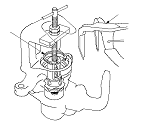
Rear caliper spring compressor
07HAE-SG00100
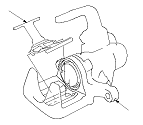
Snap ring pliers
07914-SA50001
NOTE: Make sure that the caliper pins are installed correctly. Upper caliper pin B and lower caliper pin A are different. If these caliper pins are installed in the wrong location, it will cause vibration, uneven or rapid pad wear, and possibly uneven tyre wear.
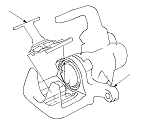
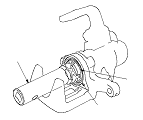
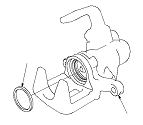
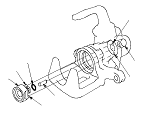
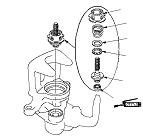
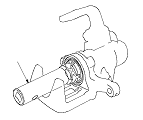
Disassembly
|
|

|
|
|
|
|
|
|
|
|
|
|
|